Deploy your first Octavia service in minutesThis quickstart walks you through creating an account, activating a service (like AI CMS), and generating an API key. By the end, you’ll have a live workspace, a selected service/plan, and credentials to start building.
Prerequisites: You’ll need an Octavia account. If you don’t
have one yet,
create a free account
.
Getting started
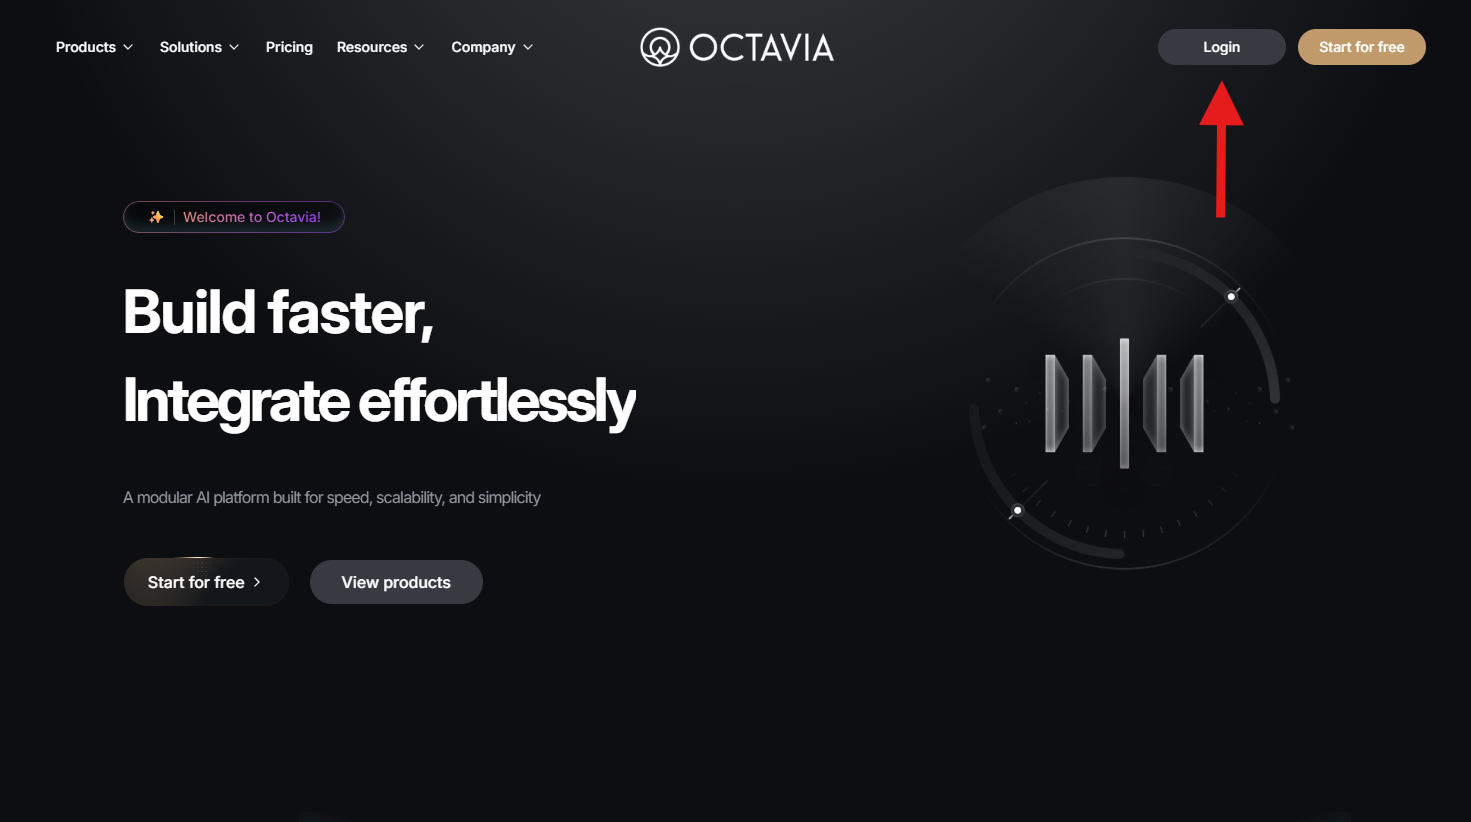
Follow the steps below. Each step can include a screenshot — feel free to replace the image placeholders with your own.1) Visit the site and click Sign in
2) Sign in or create an account
If you already have an account, sign in. Otherwise, click Create account and enter First name, Last name, Email, Password, and Region, then complete registration.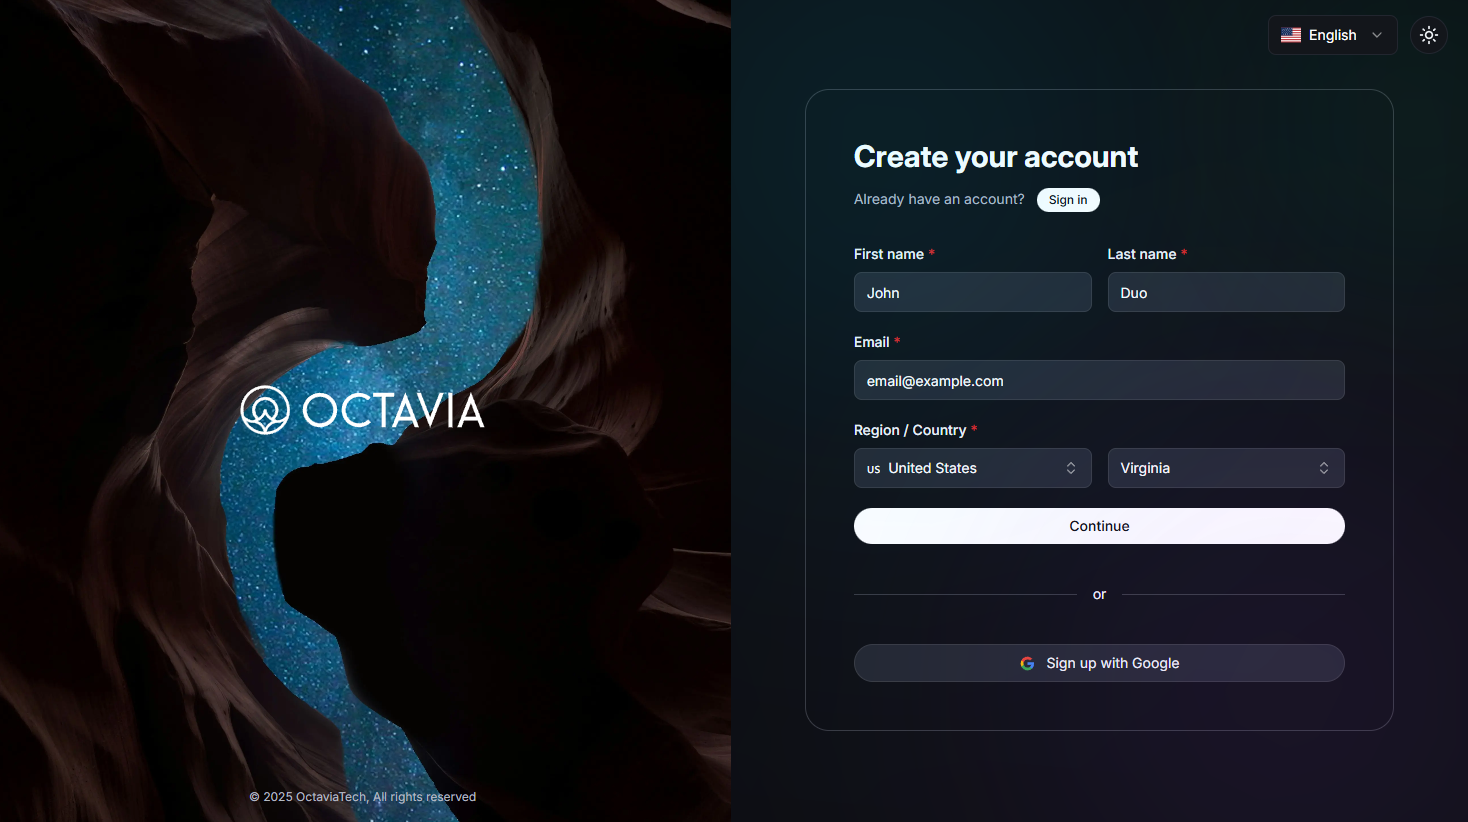
3) Enter the dashboard and select a team
After sign-in, you’ll land in the Dashboard. Your first team is created automatically using your name. You can create additional teams later, but to begin quickly, select the default team to continue.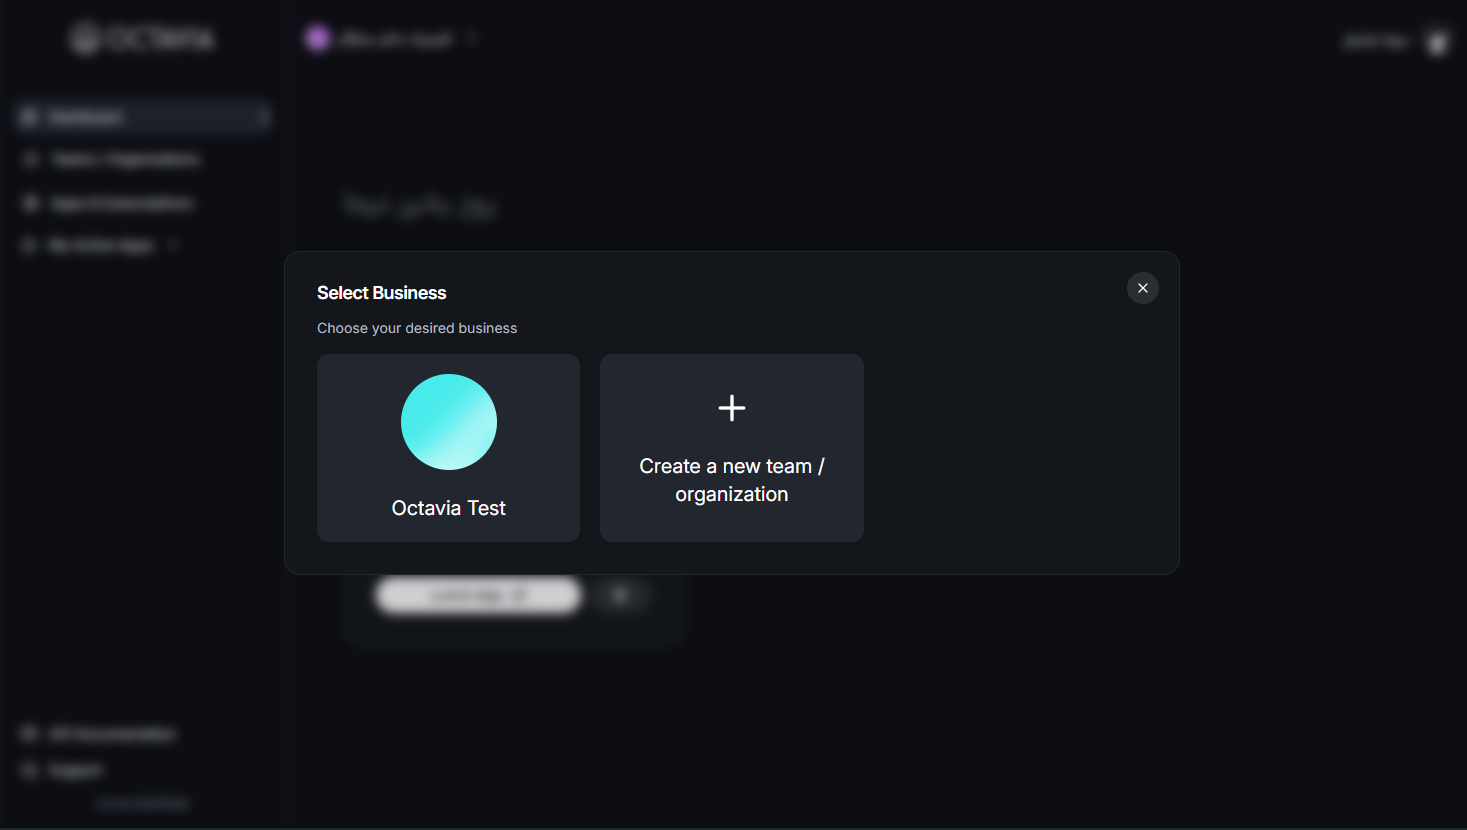
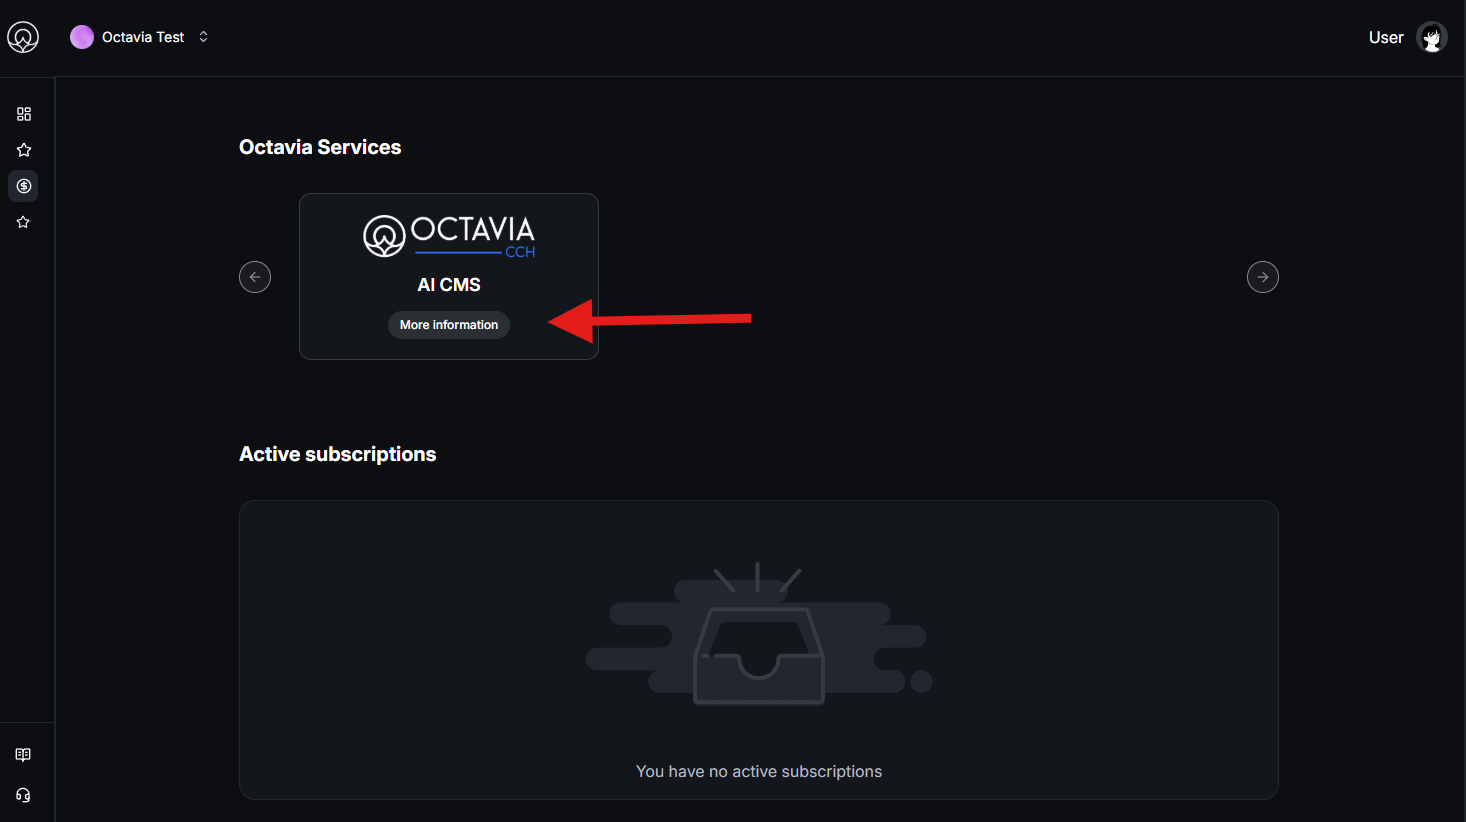
4) Open the Octavia Services catalog
From the dashboard, open Octavia Services and pick the product you want (e.g., AI CMS, Auth, Payments, etc.).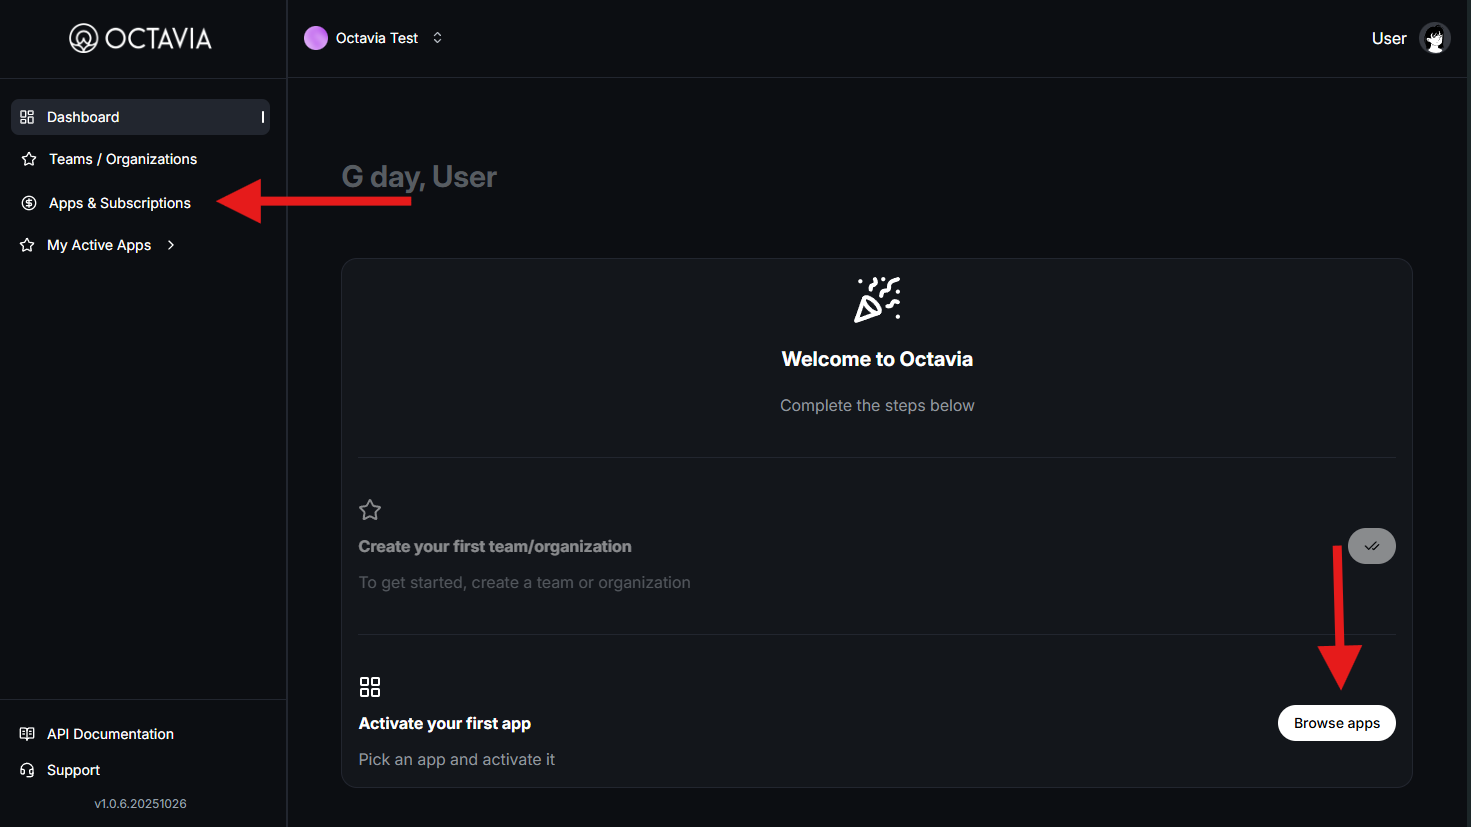
5) Choose a plan
Pick a plan that matches your team’s needs. You can start on the Free plan and upgrade any time.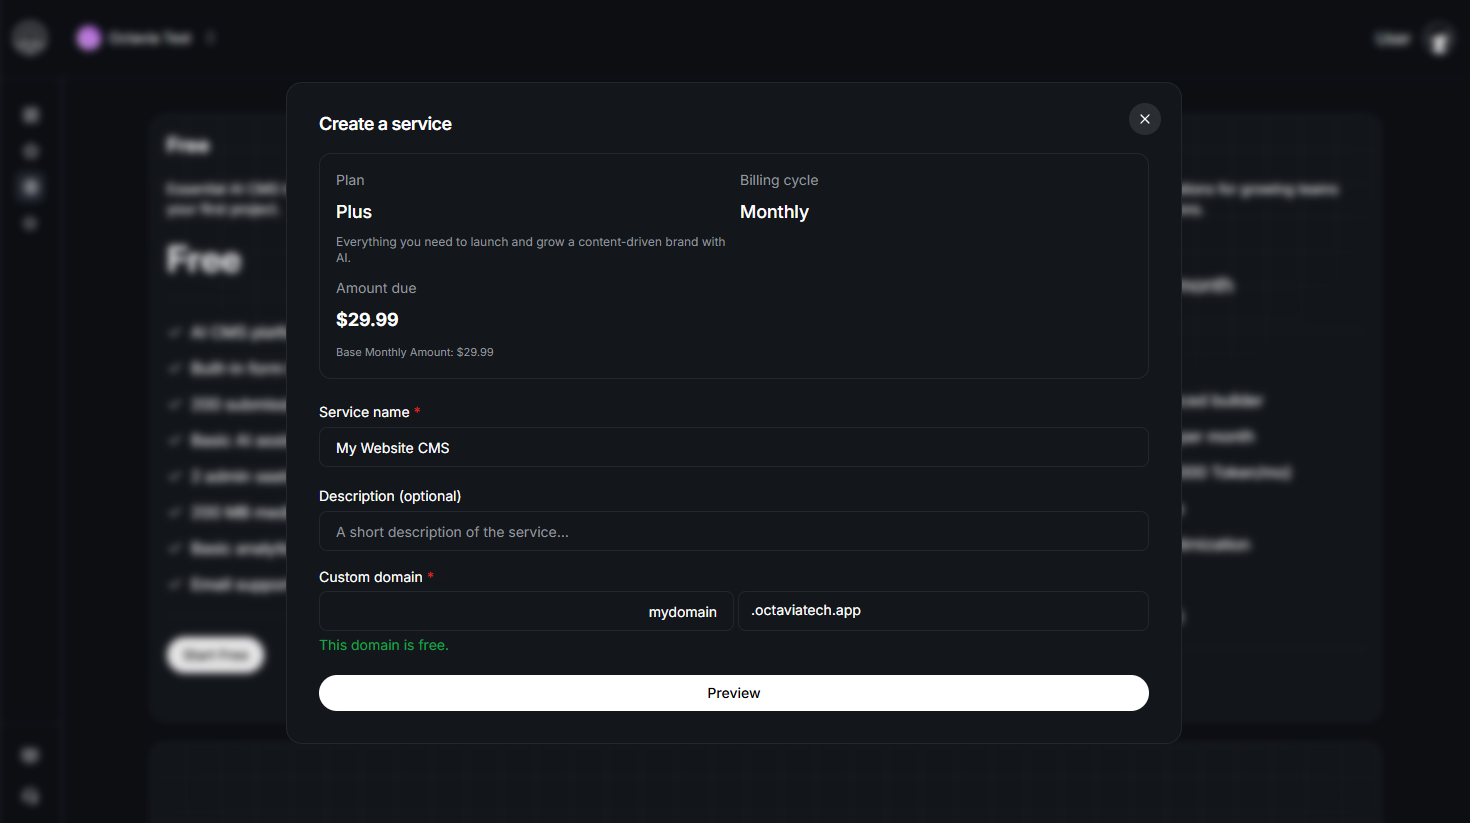
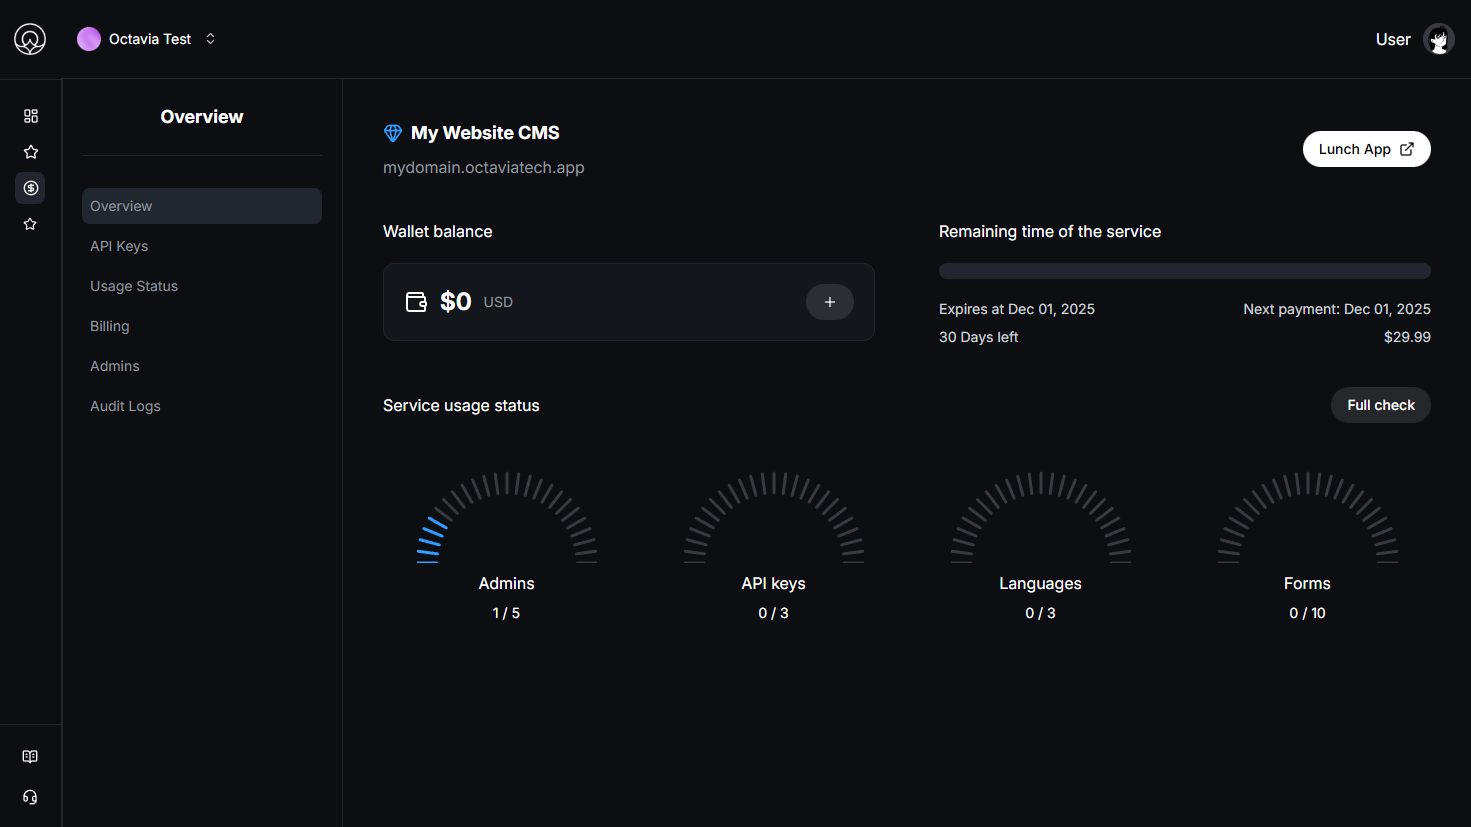
6) Provision complete → Configure and build
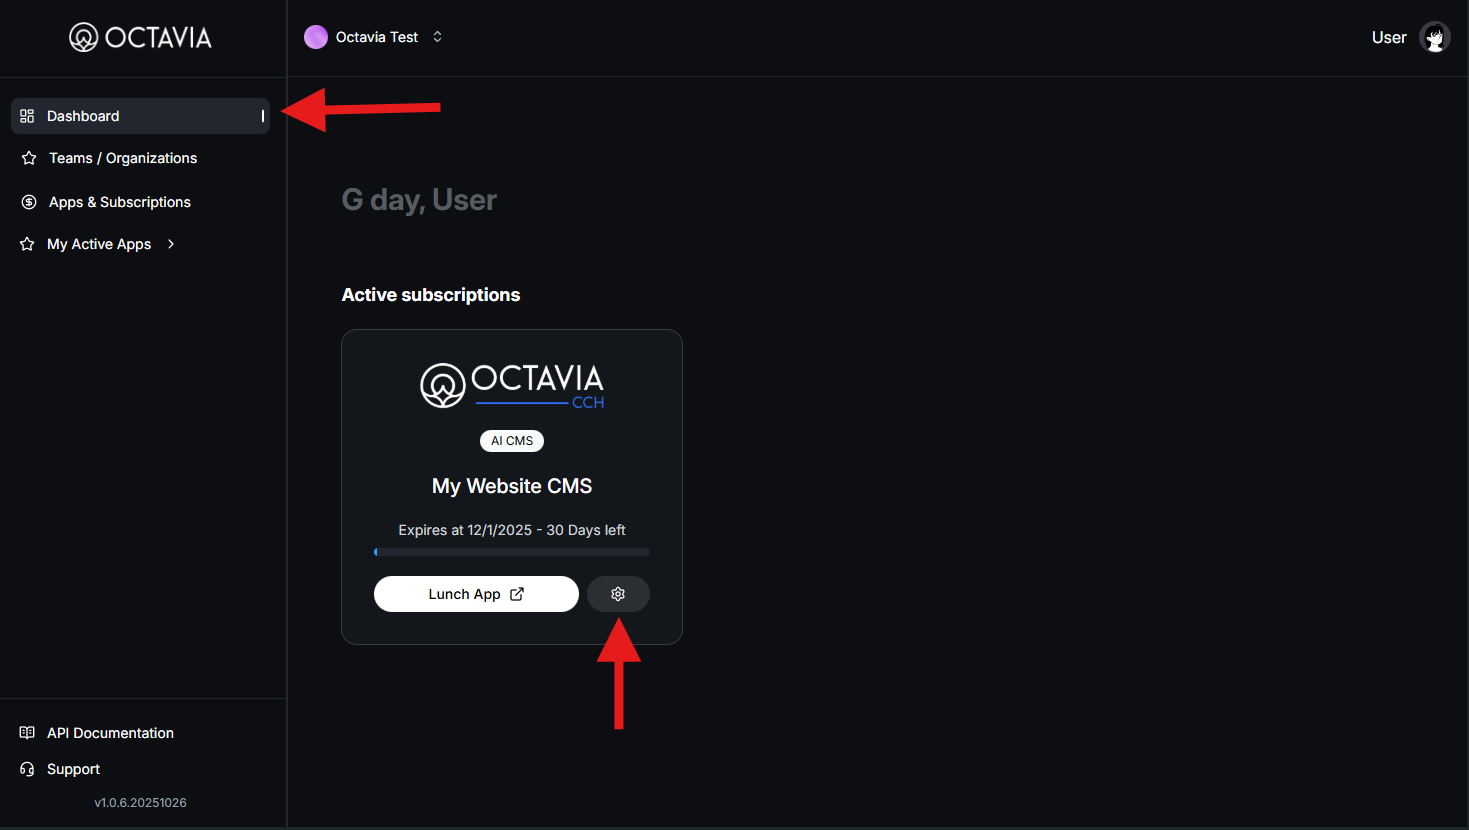
- View service settings
- Open the product console
- Create API keys
- Manage everything from the left navigation
Troubleshooting
I can’t see my default team
I can’t see my default team
Refresh the dashboard or re-open the team switcher. If the default team was renamed or removed, create a new one and select it before continuing.
Service not visible after selecting a plan
Service not visible after selecting a plan
Check your billing status if you chose a paid plan. If payment succeeded,
refresh the dashboard; provisioning usually completes within seconds.
Requests are failing with 401
Requests are failing with 401
Ensure the
x-api-key header is present on every request and that
you’re using a valid, active key from the dashboard.Hitting rate limits (429)
Hitting rate limits (429)
The limit is 50 req/s per IP. Implement client-side queuing and exponential backoff, or distribute requests across workers.