

Keep keys secret and prefer server-side usage. You can edit, disable/enable,
or revoke a key at any time.
Create an API key
Follow these steps in the Octavia dashboard. (Replace the screenshots with your own — two images are expected here.)1
1) Open API Keys
Go to Dashboard → Settings → API Keys and click New API Key.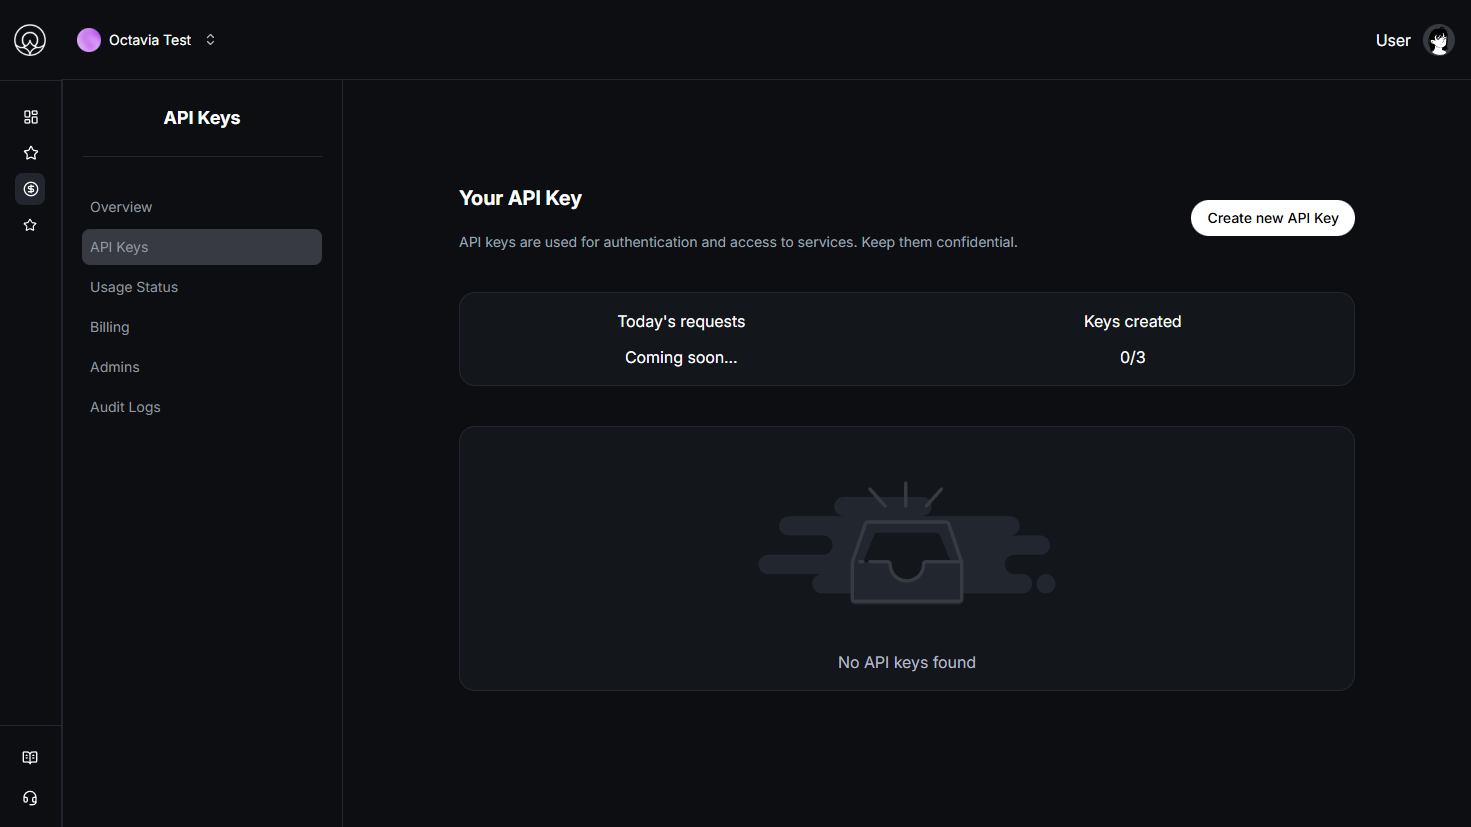
2
2) Name, scope, role & expiration
Give the key a clear name (e.g., cms-backend-prod), choose AI CMS as the service scope, assign a Role, and set Expiration: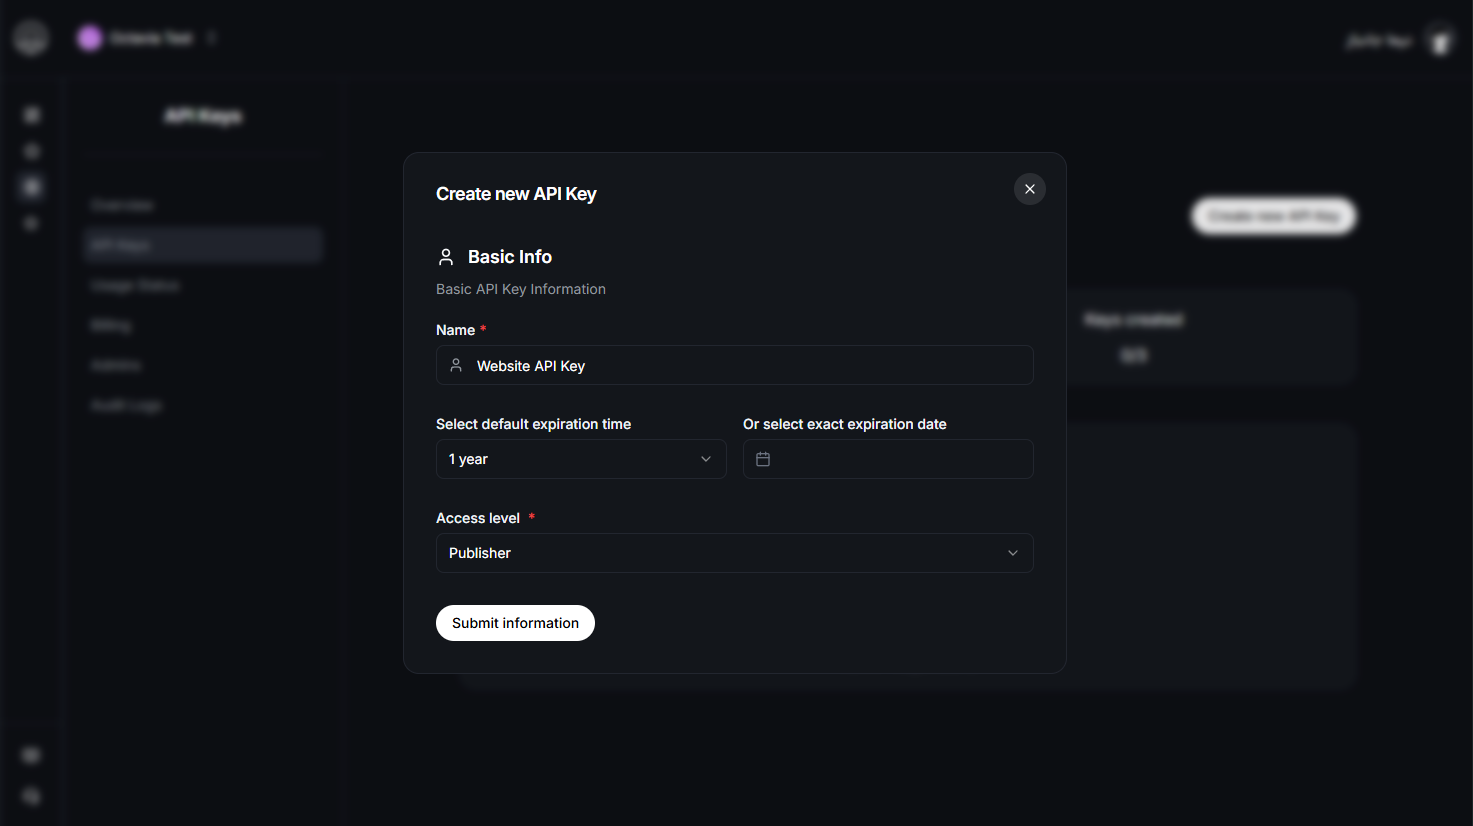
- Expiration: either a specific end date or lifetime (no expiry).
- Status: you can toggle a key Active/Inactive anytime after creation.
You can edit a key’s role, change its
expiration (switch between date-bound and lifetime), or
disable/enable it later from the same page.
Roles & permissions (AI CMS)
Choose the smallest role that meets your use case. If your backend services require unrestricted access, use Super Admin. For public websites and read-only pages, use Read-only.Managing keys
- Rotate & edit: Rename keys, change roles, update expiration (date ↔ lifetime), and flip Active/Inactive status anytime.
- Revoke: Permanently delete a key to invalidate it immediately across all clients.
- Audit: Use the dashboard to review last-used timestamps and quickly identify unused keys.
Related guides
Authentication
Header format and auth requirements for AI CMS.
Base URL
Endpoint root for all AI CMS requests.